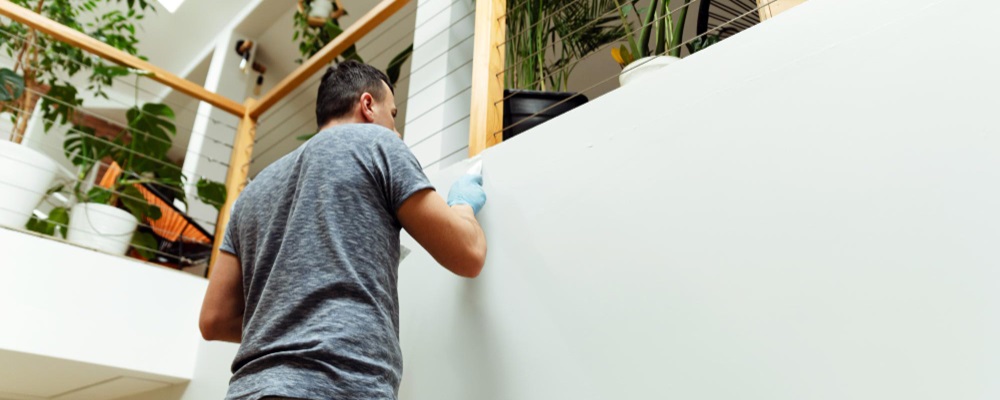
Wall putty is the most important component of the construction and interior design industry. It plays a crucial role in ensuring that your walls are smooth, durable, and aesthetically attractive.
Hence, in this blog, Brick & Blot provides you with a comprehensive guide on wall putty, including various aspects, such as what wall putty is, types of wall putty, how to apply it, how to choose it, its benefits and expert tips on wall putty application technique.
So, let’s start the journey.
What is Wall Putty?
Wall putty is also known as paint putty. It’s a white cement-based powder made of polymer and other materials. It makes the wall look smoother. Its main purpose is to fill in holes and cracks in walls and make the surface smooth before painting. Using wall putty provides better protection for your walls against dirt, mold, and cracks. It’s a flexible material that can be applied to any wall, including prefabricated, concrete, and even rendered walls, to give them the best paint and wall finish. To get a surface ready for new paint, one to two coats of paint putty and some sanding might be needed.
Types of Wall Putty
There are various types of wall putty available in the market and they all have their own benefits. So, you can choose the right type of wall putty according to your scope of work and requirements. The following are the various types of wall putty for your home:
Cement Wall Putty
Cement-based putties, also called cement putty, are mostly used to fix cracks in concrete and brickwork. The powder form needs to be mixed with water before it can be used. It should be about the same thickness as peanut butter, neither too runny nor too thick. After that, use a putty knife to put it on and wait a day or two before painting the wall.
Acrylic Wall Putty
You can use acrylic-based putties, also called acrylic putty, on both plaster and sheetrock. They come in powder or ready-to-use form. Many of them have a smooth finish, and you can change the color to match your wall paint. One bad thing about them is that they might chip or crack over time because they are not as strong as cement putties.
Gypsum Wall Putty
Gypsum-based wall putty, also called gypsum wall putty, is great for inside walls. It’s easy to use and gives a smooth finish. The gypsum wall putty is super light and sticks very well to the wall surface. Its fire-resistant quality makes it a safe choice for residential and commercial use. Gypsum-based wall putty comes in both powdered and ready-to-use forms.
White Cement Wall Putty
People like white cement wall putty because it has a white finish that is great for painting. It can be used on indoor walls and gives you a smooth, classy surface for painting. White cement wall putty is simple to use, and it dries quickly, which saves your effort and time. The white finish brings out the colours in the paint, making your walls look new and warm. White Cement and Polymers are the main elements that make the wall putty
Advantages of Using Wall Putty
The following are the advantages of using wall putty on your wall:
1. Easy to Use
Paint putty is great for fixing things around the house because it’s so simple to use and put on. If you want, you can even tint them to make your own colour.
2. Make a Base for New Paint
If you want to paint your walls, you will need to use wall putty under the paint. It will give a smooth surface finish and help your paint cover up better for any flaws.
3. Fixing Holes and Cracks
Cracks in the wall that are caused by damage or water leaks can be fixed with paint putty. It’s important to do this if you want to sell your house soon because it will help repair the wall’s structural stability.
4. Better Insulation
You can also use wall care putty to make your home warmer by filling in any holes or gaps between the wall and the frame. Your energy bills will go down because your home will stay warm in the winter and cool in the summer.
5. Water-Resistant
Wall putty does not crack or peel over time and can handle water. Because of this, they are a great choice for wet places like bathrooms and kitchens.
How To Apply Wall Putty on Your Walls?
In order to understand how to apply wall putty on walls, let’s go over the steps of wall putty application techniques:
1. Get the Surface Ready
First, clean the wall thoroughly to get rid of any dust, dirt, or small particles. Fix any visible holes or cracks in the walls with the paint putty.
2. Mixing Wall Putty
When mixing wall putty, it’s recommended to follow the manufacturer’s guidelines that came with the putty. Depending on the type of paint putty you’re using, make a smooth paste.
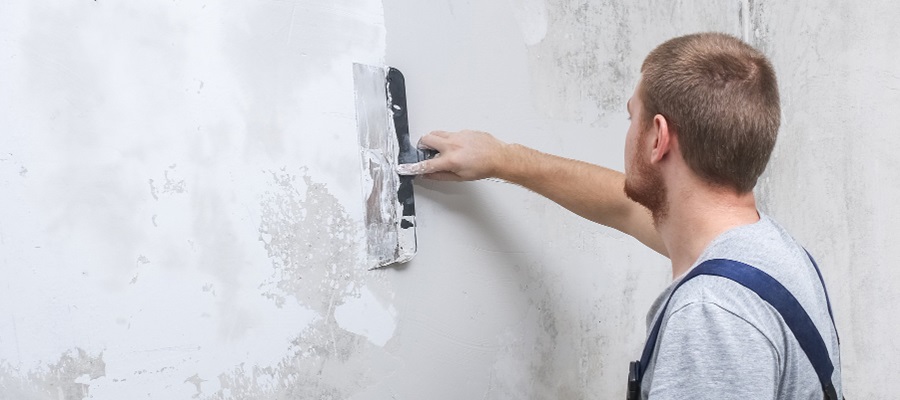
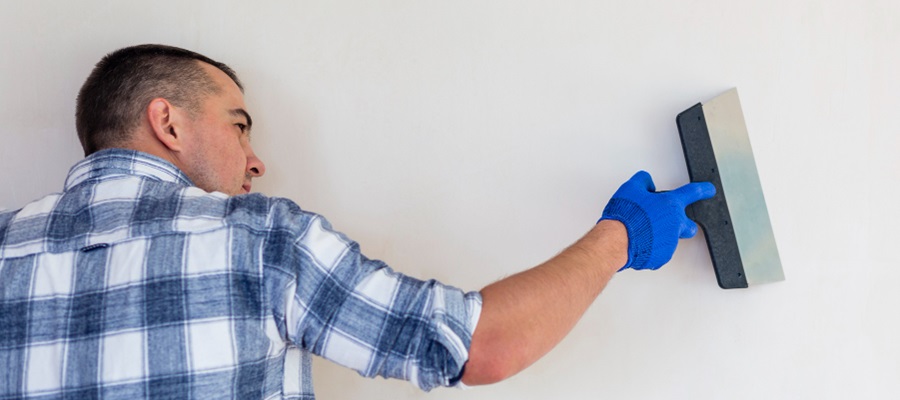
3. Apply It on the Wall
Use a putty knife or trowel to spread a thin layer of wall putty on the wall. Spread it evenly to ensure the whole area is covered. After that, let it dry for the suggested amount of time. This can be anywhere from 6 to 24 hours, depending on the type of wall putty and the weather conditions.
4. Sanding
If you want to make the surface even smoother, use sandpaper after the wall putty is completely dry. Sanding helps create a smooth finish without flaws.
5. Apply Base Coat
Use a good primer on the prepared surface. Priming helps the paint stick better and ensures an even finish.
6. Paint Your Wall
If you want to paint your wall, you can wait until the primer is dry before you start.
How to Choose the Right Wall Putty for Your Home?
1. Type of Surface
Think about what kind of surface you want to use wall putty on. Some types of wall putty, like cement putty, work well on concrete, while others might work better on drywall or plaster.
2. Plan your Budget
Take a look at your project budget. Some types of wall putty might cost more, but they might last longer and work better.
3. Finished Product
Think about where you want to end up. Gypsum wall putty or white cement wall putty might be the best choice if you want a smooth, even surface.
4. Exterior or Interior Use
Figure out whether you need wall putty for exterior walls or interior walls. For example, acrylic wall putty and cement-based wall putty are the bst option for your exterior walls.
5. Wall Putty Brands and Goodness
Choose well-known wall putty brands for high-quality products and durability. Cheap, low-quality wall putty might not give you the finish and longevity you want.
Expert Tips for Using Wall Putty
Here are some tips from professionals on how to get the most out of wall putty:
- Make sure your wall surface is clean and free of dust, grease, and other loose items before you apply wall putty. The wall putty will stick better to the surface if you clean it well.
- Wall putty needs enough time to dry before you can paint over it. So, follow the manufacturer’s directions because the drying time changes based on weather and humidity.
- It’s important to use a good primer after putting on wall putty. The base makes it easier for the paint to stick, makes the colours look better, and makes the job last longer.
- To get a smooth finish, use a putty knife or a shovel to spread it out evenly. Do not leave spots that are too thick or too uneven, as they can change the way the paint finishes.