Want to give your walls a fresh bright look? White cement might be just what you need. This article details out how to put white cement on your walls. It doesn’t matter if you’re after a modern style or just want clean, tough walls. We’ll cover it all. Let’s begin!
What is White Cement?
Before we get into how to use it, let’s talk about what white cement is and why so many people like it for their walls.
White cement is like regular cement but with one main difference: it’s bright white in colour. This colour comes from using raw materials with low iron content. It is used in construction and decoration because it gives a clean elegant appearance. It works well for everything from structural projects to fancy finishes.
Why Use White Cement?
- Looks Good: It creates a clean modern look that suits both new and old walls.
- Strong and Long-lasting: It matches regular cement in toughness, so it will last a long time.
- Many Uses: You can apply it to different tasks, from plastering to using it as a base for paint.
Process for Applying White Cement on Walls
a) Getting Started: What You’ll Need
Before you begin, get all the stuff you’ll need:
- White cement
- Clean water
- Sand (if you’re mixing plaster)
- Mixing bucket
- Trowel or spatula
- Sandpaper
- Protective gear (gloves, goggles, dust mask)
- Measuring tools
- Paintbrush or roller (if you’re finishing with paint)
b) Preparing the Wall
- Check the Wall: Look at it for cracks, holes, or loose parts. Fix major problems before you begin.
- Clean Up: Get rid of dirt, dust, or old paint. A clean wall helps things stick better.
- Patch Up: Use a good filler to fill cracks or holes and wait for it to dry.
- Sand the Wall: Use sandpaper to smooth out rough areas. This allows the white cement to stick well.
- Moisten the Surface: Use a brush or spray bottle to wet the wall a bit. This helps the white cement to adhere better.
c) Mixing the White Cement
- Follow the Ratios: Look at the package to see the correct mixture , you’ll need 1 part white cement and 2-3 parts sand for plastering.
- Mixing: Put the white cement and sand in your bucket then add water bit by bit. Mix until you have a smooth paste without lumps. It should be thick but easy to spread.
- Let It Rest: After you mix it, leave the paste alone for a few minutes to get the air bubbles out, then mix it again.
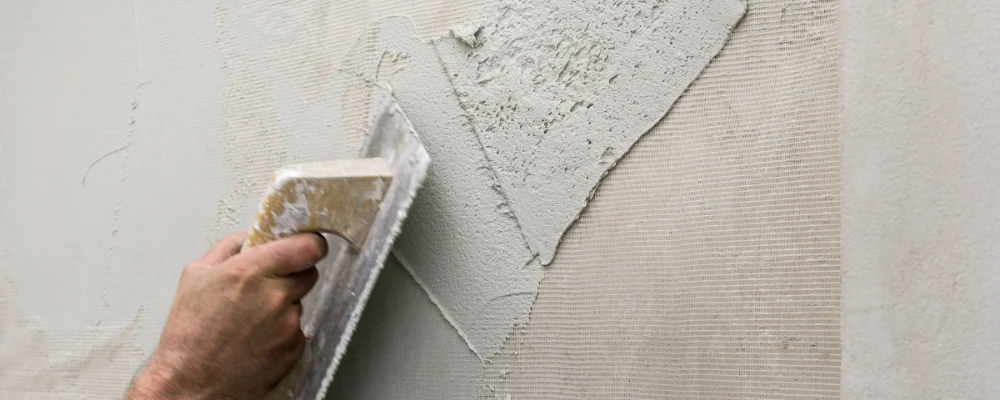
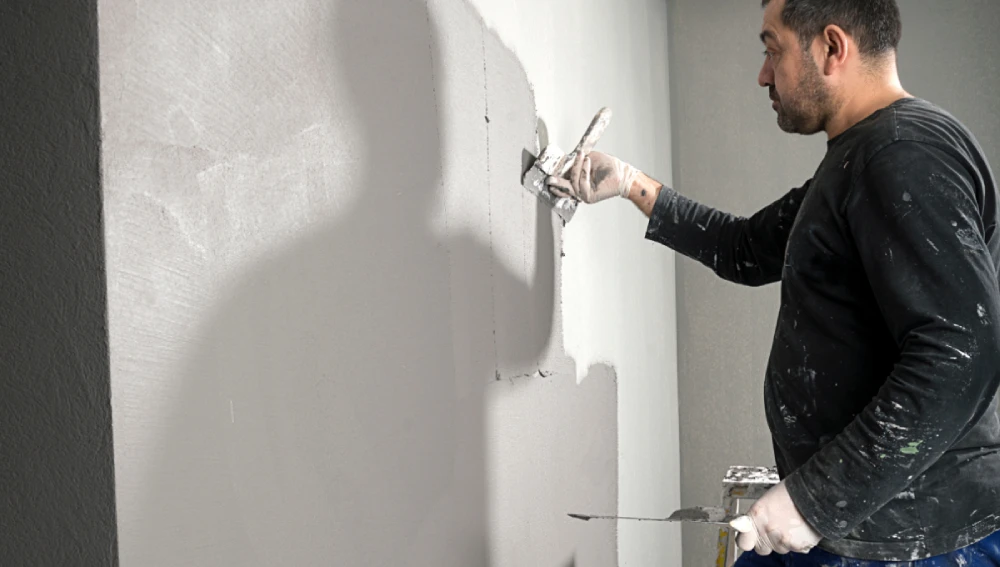
d) Applying the White Cement
- Put on a Base Coat: Start with a thin layer of white cement if your wall feels rough. This helps you get an even finish. Use your trowel to apply the cement.
- Spread the Cement: Move from the top of the wall to the bottom. Try to keep it about 2-3 mm thick.
- Make It Smooth: As you proceed, use your trowel to smooth the surface. Work on small areas to keep it even and stop it from drying too.
- Clean Up the Edges: Don’t forget the edges and corners. Use the trowel to create clean lines and smooth transitions.
- Let It Dry: Give the cement time to harden as per the manufacturer’s instructions (generally a full day). Don’t touch or move it while it’s setting.
e) Adding the Final Touches
After the white cement dries, you may want to put some finishing touches:
- Sanding: If you notice any bumps or flaws after it dries, sand the surface with fine-grit sandpaper.
- Dust Off: Clean the wall with a damp cloth to get rid of any dust from sanding.
f) Painting
- Get the Wall Ready: If you’re going to paint over the white cement, put on a primer first. This helps the paint stick better and gives an even colour.
- Paint: Pick a good paint and put it on with a brush or roller. Let each layer dry before you add another.
- Seal: If you like the natural look of white cement, you can put on a clear sealant to protect the surface and make it last longer.
Tips to Succeed
- Keep an eye on the weather: Make sure to put on white cement when it’s not too hot or cold. The temperature has an impact on how it hardens.
- Be careful when you mix: Get the texture just right. It needs to be thick enough to stick to the wall but easy to spread.
- Don’t waste time: Mix the amount of cement you can use at a time before it starts to get hard to avoid throwing any away.
Problems You Might Face and How to Fix Them
- Cracks: Cracks might show up if you put on too much at once or it doesn’t dry properly. Try to apply thinner coats and make sure it dries evenly all over.
- Uneven Surface: To fix a bumpy finish, use your trowel to smooth things out as you go. You can also sand it down after it dries to even it out.
- Poor Adhesion: If the cement doesn’t stick right, double-check that you prepped and dampened the wall. Also, make sure you mixed it correctly.
Conclusion
There are several reasons why coating your walls with white cement gives your room a fresh look, plus it’s stronger. If you require to renovate an old wall or start anew, here are steps for doing it like a pro. The result will be walls which look great and serve you for long if at all preparations and mixing are done properly.
Frequently Asked Questions
White cement needs about 24 hours to dry, but this can change based on how thick you put it on and how warm it is. It’s a good idea to look at what the manufacturer says about drying times.
You can put white cement on painted walls, but check if the paint is in good shape first. Clean the wall and take off any paint that’s coming loose. You might need to sand the painted surface a bit to help the white cement stick better.
If the mix begins to harden before you’re done applying it, you’ll have to throw it out and make a new batch. White cement can start to get hard fast so mix as much as you can use within the time.