If your building or home has a flat or low-slope roof, you will find membrane roofing useful. It is an intelligent and new-age solution that stops water leakage from concrete roofs, conserves energy, and is suitable for most weather conditions. It is also quite protective against rain, sun, and heat. It also proves cost savings in the long term.
This blog from Brick & Bolt will discuss what membrane roofing is, the different types you can have, how it’s applied, and how it’s installed.
What is Membrane Roofing?
Membrane roofing is a protective surface created to make a roof waterproof.

Generally, this membrane is composed of a single or multiple layers of laminated materials, including thermoplastics or synthetic rubbers.
The primary purpose of membrane roofing is to safeguard commercial or industrial spaces with flat or low sloped concrete roofs, especially where conventional asphalt shingles have failed to do their job. It is also applicable in residential buildings that couldn’t drain water quickly.
By making use of membrane roofing, you can be confident that no water penetrates into the building and avoid leaks or any potential damage. These membranes can be installed according to the building’s specific requirements.
A well-planned membrane roofing can last over 30 years with proper maintenance. However, the type of membrane you select is important to reap the benefits to the fullest.
Types of Roofing Membranes
There are numerous types of roofing membranes. Each of them possesses certain characteristics, uses, and costs. Let us address the most common ones.
- Built-Up Roofing (BUR)
- Ethylene Propylene Diene Monomer (EPDM)
- Polyvinyl Chloride (PVC)
- Thermoplastic Polyolefin (TPO)
- Modified Bitumen
Built-Up Roofing (BUR)

Membrane roofing can adapt to the requirements of buildings, whether large or small. It contains several layers of asphalt and fabric, usually finished with gravel or a special coating. This roofing is incredibly thick and long-lasting.
Pros:
- Long lasting
- Excellent resistance to foot traffic
- Keeps UV rays out
Cons:
- Can be heavy
- Longer to install
- Requires professional installers
BUR is an appropriate option if you prefer a durable roof but are willing to accept the weight.
Ethylene Propylene Diene Monomer (EPDM)
EPDM is rubber-based. It is durable, long-lasting, and suitable for extreme heat or cold. It generally comes in black, but white is available for energy reasons.
Pros:
- Suitable for all weather conditions
- Simple to repair
- Affordably priced
Cons:
- Seam will eventually need to be resealed
- The black colour will make buildings warmer
EPDM is a choice for companies and residences wanting an easy and affordable roof.
Polyvinyl Chloride (PVC)
PVC is a plastic product. It is used as a roof waterproofing material. Polyester is added to give it strength. It is resistant to water, chemicals, and even fire.
Pros:
- Seams heat-welded to provide enhanced security
- Suitable for restaurants or factories where chemicals are being utilised
- Good reflection of sunlight
Cons:
- It is costlier than EPDM
- Shrink or crack with time if not properly installed
PVC is best for commercial buildings or chemical-resistant roofs.
Thermoplastic Polyolefin (TPO)
TPO is a rubber-plastic blend. It ranks as one of the most frequently used new roofing technologies. TPO is used in most new construction since it is white, thus keeping buildings cooler, and not hard to install.
Pros:
- Keeps buildings cooler
- Stops mould and algae from sticking
- Easy to weld down seams
Cons:
- It won’t last as long if you use poor-quality TPO
- Some other brands perform better than this
TPO is suitable if you need a roof that will save energy and is friendly to the environment.
Modified Bitumen
Modified bitumen is similar to BUR but has added materials that make it flexible. It is available in rolls and is applied with heat, cold glue, and self-glue.
Pros:
- Resilient and flexible
- Works well in cold weather
- It is simpler to install than BUR
Cons:
- Requires frequent damage inspection
- Hazard to the environment
- Health risk to the working people
Modified bitumen is suitable for small commercial buildings and even house additions.
Common Benefits of Membrane Roofing
Membrane roofs have several benefits:
- Waterproof: Designed to keep water out, they prevent any penetration. They are better at waterproofing flat roofs than shingles.
- Lightweight: Most are lightweight and don’t need extra support for the roof.
- Energy Savings: Some of them reflect sunlight and reduce your cooling costs.
- Simple Maintenance: They need little maintenance. If a tear appears, it is simple and quick to fix.
- Flexible Installation: They can be installed in houses, offices, shops, and warehouses.
- Long-Lasting: With adequate care, membrane roofs are capable of lasting between 20 and 30 years.
Membrane Roofing: Where Is It Preferred?
Most building structures feature membrane roofing as a common choice.
- Industrial Use: Malls, factories, schools, and office buildings use such roofs to provide shelter over broad, flat surfaces.
- Domestic Use: More and more, individuals are using membrane roofs on garages, sheds, and flat roofs of new houses.
- Green Roofs: Membrane roofs become the bottom layer of roof gardens.
- Commercial Use: Factories and warehouses use them because they are long-lasting and easy to repair.
Membrane roofing provides the flexibility to address the requirements of both large and small structures.
How to Install Membrane Roofing?
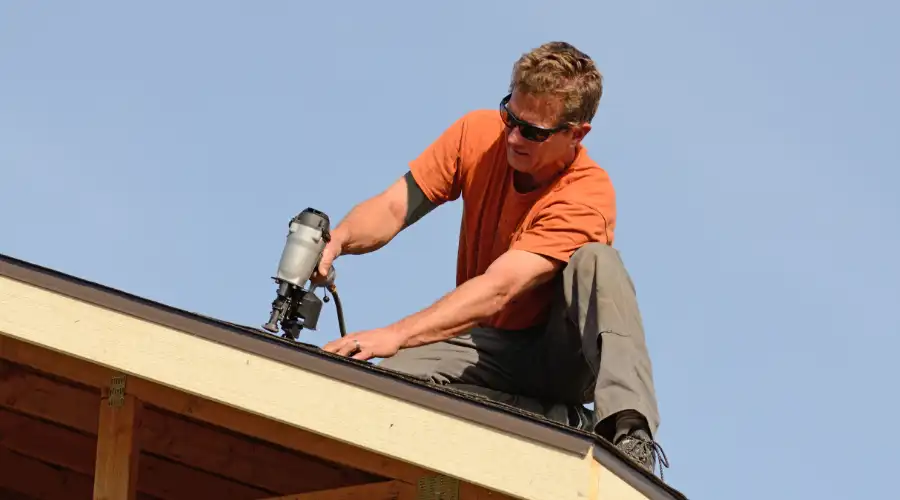
Membrane roofing is not something to DIY unless you are a skilled professional. Please leave it to a professional contractor. But to give you an idea of what is involved, here is a simple, step-by-step outline of membrane roofing installation.
Step 1: Clean the Roof Surface
The first step is to clean the roof and remove any dirt, dust, and old roofing material. It should be clean so the membrane sticks well and does not rip later.
Step 2: Inspect and Repair Any Damage
Second, the contractor tests for cracks, holes, or soft patches in the surface. They are filled to a level that makes the base even and hard.
Step 3: Fit Insulation (If Necessary)
Insulation boards are fitted to provide temperature control. The layer releases heat in summer and retains warmth in winter.
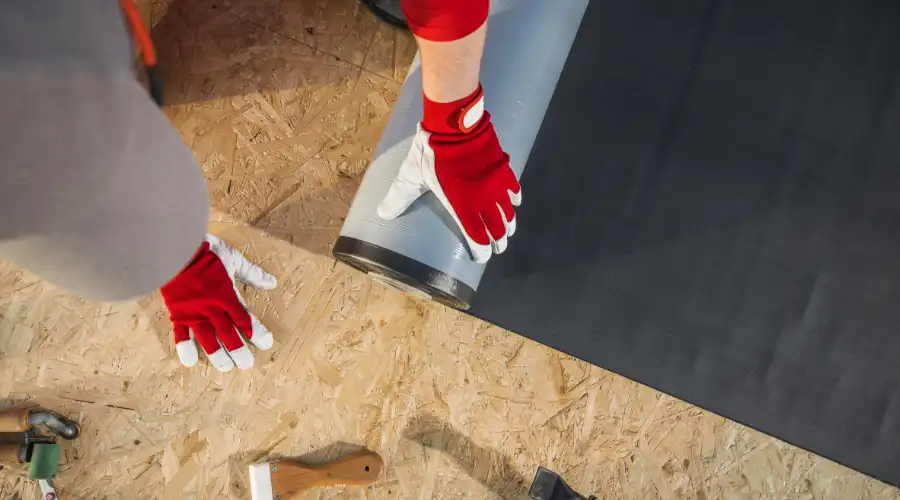
Step 4: Roll Out the Membrane
The membrane is rolled out over the roof in strips. Workers will make it smooth and flat with no lines or folds.
Step 5: Seal the seams
Where a seam exists between two components of the membrane, they are sealed. Based on the product, it can be sealed by heat welding, adhesive tape, or cement. A good seam repels water.
Step 6: Secure Around Edges and Openings
Flashing is applied to areas around vents, roof windows, and roof intersections. This provides additional protection where water may sneak in.
Step 7: Final Check
The roof is inspected thoroughly to ensure all is sealed, even, and secure. Any holes or air pockets are repaired immediately.
Concluding Thoughts
Membrane roofing is an intelligent, safe, and durable option for roofs. You have many alternatives, including BUR, EPDM, TPO, and modified bitumen. All based on your budget and your building requirements. Membrane roofs do not leak, conserve energy, and are suitable for most locations, such as residential houses, factories, etc.
If you want a roof that’s easy to care for and made to last, membrane roofing is worth considering. Select a trusted contractor, and the job will be handled correctly!

