Priming your walls is one of the most important processes you should do to ensure smooth, shiny, and bright paint colors. Paint primer promotes paint adhesion, enabling the paint to embed deeply into the wall and provide a clean and flawless appearance.
In this article, we will learn the importance of applying a primer and the step-by-step process of applying it on your wall. So, if you are in the process of applying primer to your wall but don’t know how, use this article as a guide and follow the steps for a clean and smooth wall.
Why Should You Apply Primer On Walls?
Applying primer is an important step that should be followed before painting your walls as they have numerous benefits like the ones listed below.
Improved adhesion
Primer increases the adhesion of your paint, making it bind strongly to the wall surface. This increases its life and reduces the chances of flaking or peeling.
Neutralise color
Primer gives a clean bright white finish to your walls. This can help the true colour of the paint shine through, especially if you are going to paint over a dark surface.
Cover imperfections
Primer can cover imperfections like holes, blemishes, dents, etc., providing an even surface for the paint.
Block stains
Primer can prevent stains from sticking to the paint, especially in places like the kitchen, bathroom, etc.
Step-By-Step Process Of Applying Primer On Wall
Applying primer to your walls is an important step to get your walls ready for painting. So, ensure you read the steps thoroughly and do your best at priming your walls.
Selecting the Right Primer
The first step in priming your walls is to know which primer to buy for your wall. There are two types of primers: water-based latex primer and oil-based primer.
Both these primers work well on different wall surfaces. Understanding them can help you choose between the two. Latex primer is like an all-purpose primer that suits interiors well. You can also clean it up easily with water. An oil-based primer is well-suited for covering porous surfaces, blocking stains, and wood tannin.
Also, ensure you buy enough primer to cover your requirements. It is better to buy them in one go than buy them several times as this can help in cost reduction.
Prepare The Wall
Remember, you can’t just apply primer on your wall after you buy it. You need to prepare the surface first. First, remove any objects from the wall surface, like hangings and other objects.
Apply putty evenly with a putty knife and sand the surface after drying. Ensure the wall surface is even and dry.
Cover Other Surfaces
Make sure to cover the surface where you don’t need a primer to be applied. This includes switch boxes and any other nearby immovable objects If you can move things, it is best to move them away till your primer dries off. You can use painter’s tape to cover moldings, ceilings, fixtures, etc. Wall or floor surfaces that do not require primer can be covered with tarpaulin or similar wall and floor coverings to prevent staining.
Dampen Roller Or Brush
Dry rollers or brushes can’t absorb the primer and evenly apply it on your wall. This can be rectified by dampening your roller or brush before dipping it into your primer.
For this process, you can use water for latex primers and paint thinner or mineral spirits for oil-based or alkyd primers.
Cut-In Corners And Spot Prime
Primer needs to be evenly applied on all small corners to ensure easy paint adhesion. Wear safety glasses or goggles, take a 2-inch nylon polyester brush, and apply primer on all corners of your walls.
To spot prime, apply primer on areas that need special attention with spot brushes. This includes patches in drywall in plaster, joint compound, areas of barewood exposed by sanding or scraping, etc.
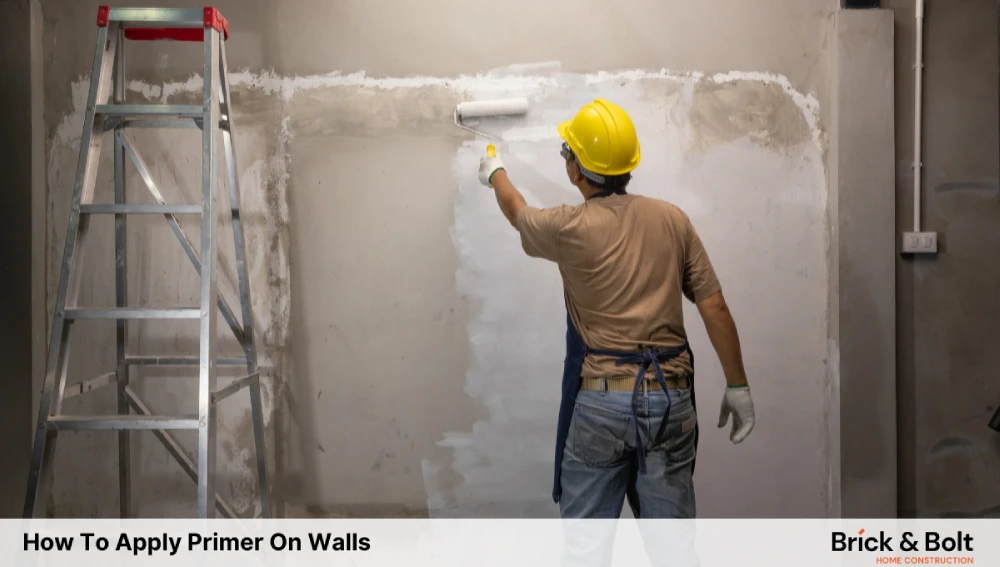
Roll On The Primer
Now that you have covered all the special places, you can go on to apply primer on the larger parts. For this, you can use a 9-inch paint roller to evenly apply the primer on your walls.
Make sure you squeeze out any excess primer off the roller. Make sections and move your roller from top to bottom to cover the entire wall surface. If a second layer of primer is necessary, follow the manual instructions and apply it only after the first layer has completely dried off.
Sand Primer
Sanding your primer is an important step that can give you the smooth and sleek look in your walls. After your primer has dried off, use a fine grit sandpaper to smoothen out the surface. This can remove any existing bumps or ridges.
After sanding the entire wall, clean the surface with a sponge or damp towel. You can start painting after the wall dries.
Conclusion
Applying primer to your wall surface is a crucial step you need to follow for a smooth and clean paint finish. It might feel like extra work, but the results you get afterwards make it totally worth the time and money spent.
FAQs
You might need both a brush and roller to apply primer on your wall. First, use the brush to “cut in” corners and spot prime for tricky corners. Later, you can use the roller to cover the larger surfaces. This can give you a neat and even finish.
This depends on the wall surface. But generally, it is best to give 2 or 3 coats of primer to obtain a perfect finish.
You can use a 9-inch paint roller to evenly apply the primer on your walls. Make sure you squeeze out any excess primer off the roller. Make sections and move your roller from top to bottom to cover the entire wall surface.